
6 Steps to Creating Patterns in Illustrator
Patterns are really a fun aspect of design. They can spice up your backgrounds or add a cool texture to an otherwise boring object. And in the past, they’ve been a pain to create.
But the days of awkward copy-and-paste solutions are gone! No more relying on guidelines to align an entire series of the pattern.
Patterns are incredibly easy to build as long as you have Adobe Illustrator CS 6, CC 2014, or a more recent version. Achieving a clean and consistent pattern is a breeze, and it doesn’t take long either.
How to make a pattern in Illustrator
To create patterns in Illustrator, follow these six simple steps.
1. Open artwork to use as a pattern
Patterns are essentially a repeated image or motif. To create a pattern, you’ll need something to repeat, ready and waiting on your artboard. This could be anything from a simple circle to a complex illustration.
Begin by creating or placing the graphic elements that will make up your pattern on your artboard. This could be a single icon, a group of shapes, or a complex illustration. Ensure these elements are grouped if they consist of multiple parts, as this will make them easier to manage. To group objects, use Object > Group.
Next, select the part of the artwork you want to use as the basis of the pattern.
2. Enter Pattern Editing mode
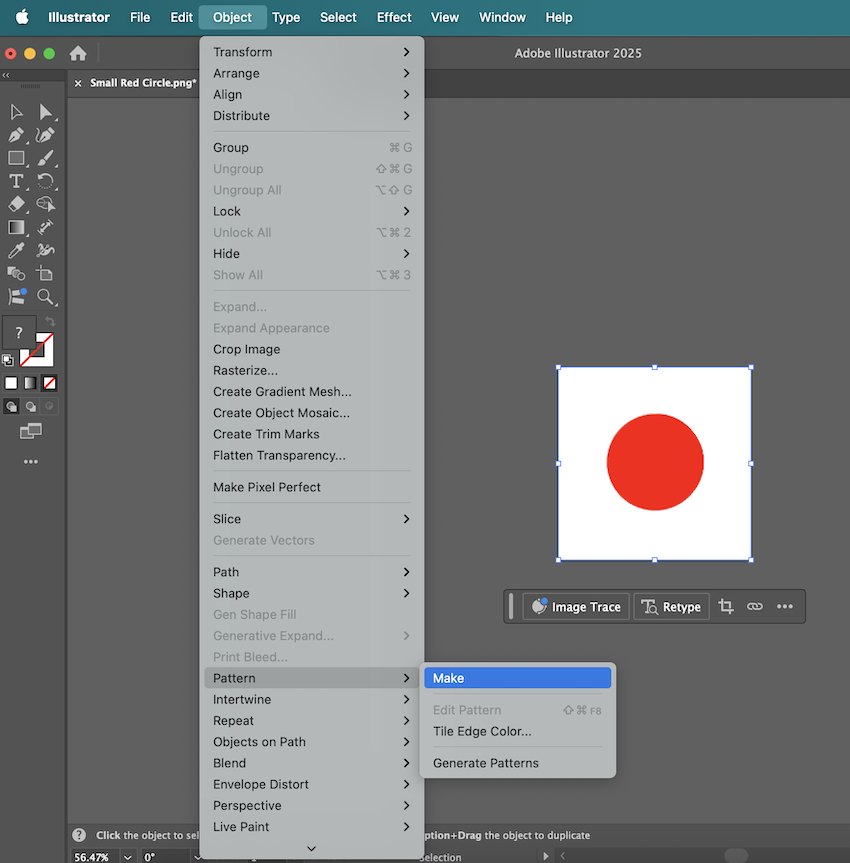
With your pattern elements selected, go to Object > Pattern > Make. Illustrator will then bring up a dialog box saying that a new pattern has been added to the Swatches panel, and that any changes made will be applied to the swatch upon exit.
Click OK on the dialog box, and you’ll be taken to the special Pattern Editing mode.
3. Know your options
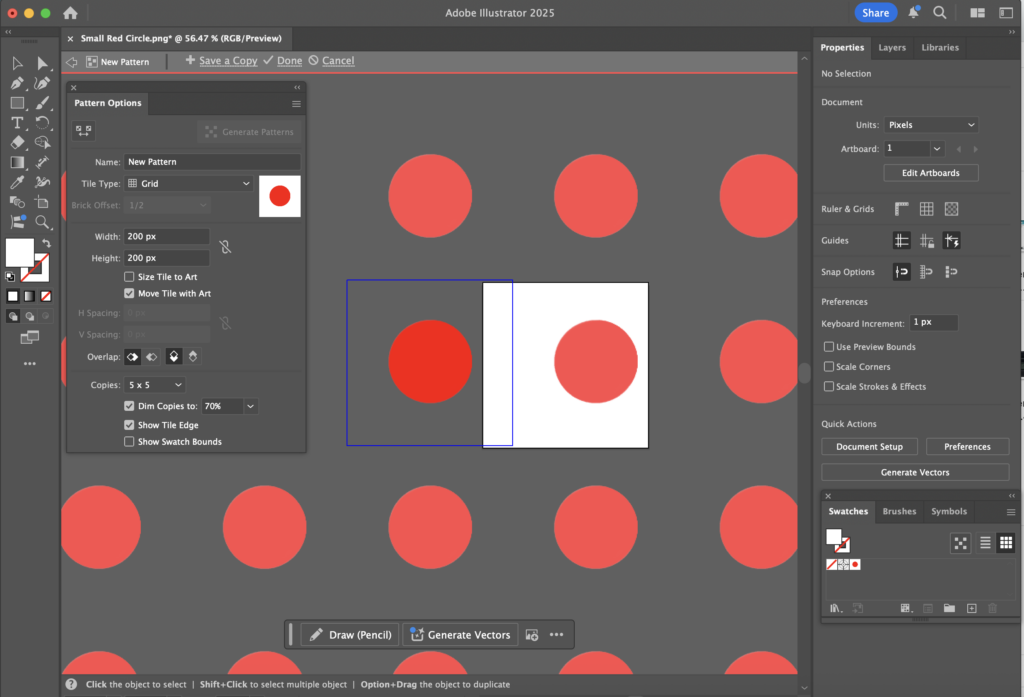
Before you start creating your pattern, take a moment to look at the available options, located in the “Pattern Options Panel.”
The blue box is the pattern tile. This is the area where you create the element that you want to be repeated. As soon as an object enters the Tile, Illustrator generates the pattern surrounding it for you.
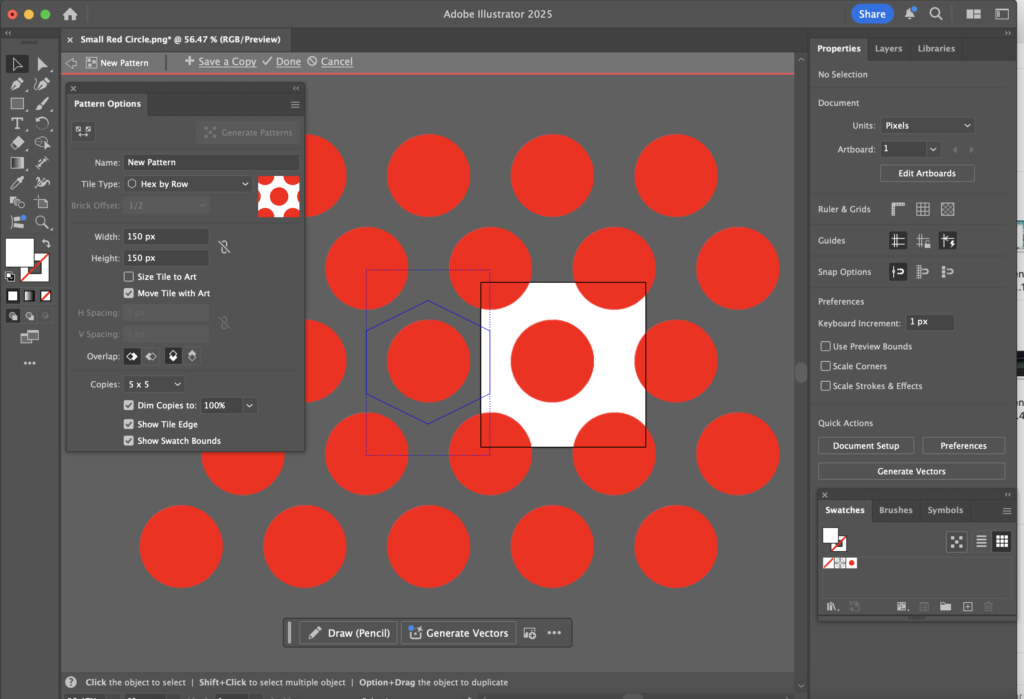
- Tile Type: This determines how the pattern repeats and in which direction. Even just playing with simple shapes, this option can create very unique and interesting solutions. It defaults to a Grid layout.
- Width and Height: These control the height and width of the pattern tile. Changing these settings determines the size of the pattern tile. The white space between your element and the edge of the pattern tile is considered part of the pattern.
- Spacing: Clicking the Size Tile to Art checkbox gives you access to the “H Spacing” and “V Spacing” controls. This controls the padding or space around the elements repeated throughout your pattern. Increasing the numbers will push the elements further apart.
- Overlap: This changes the “direction” of your pattern. When you create a pattern that overlaps itself, you’ll create a sense of movement. These options let you specify which elements go on top and on bottom to create that sense of direction, allowing you to create intertwined designs or elements that bleed into the next tile.
- Copies: This determines the number of times the pattern tile will be repeated within the pattern. It defaults to 5×5.
- Dim Copies: Essentially, this allows you to control the relative transparency of copies compared to the pattern tile. It defaults to 70%.
4. Refining your pattern
This is where the magic happens. You can freely edit, move, scale, rotate, and add new elements within the pattern tile. As you do, watch how Illustrator updates the live preview.
Pay close attention to how elements interact when they cross the tile boundaries. Illustrator will automatically show them appearing on the opposite side, helping you create truly seamless designs.
Experiment with colors, shapes, and arrangements until you’re happy with the pattern you’ve created.
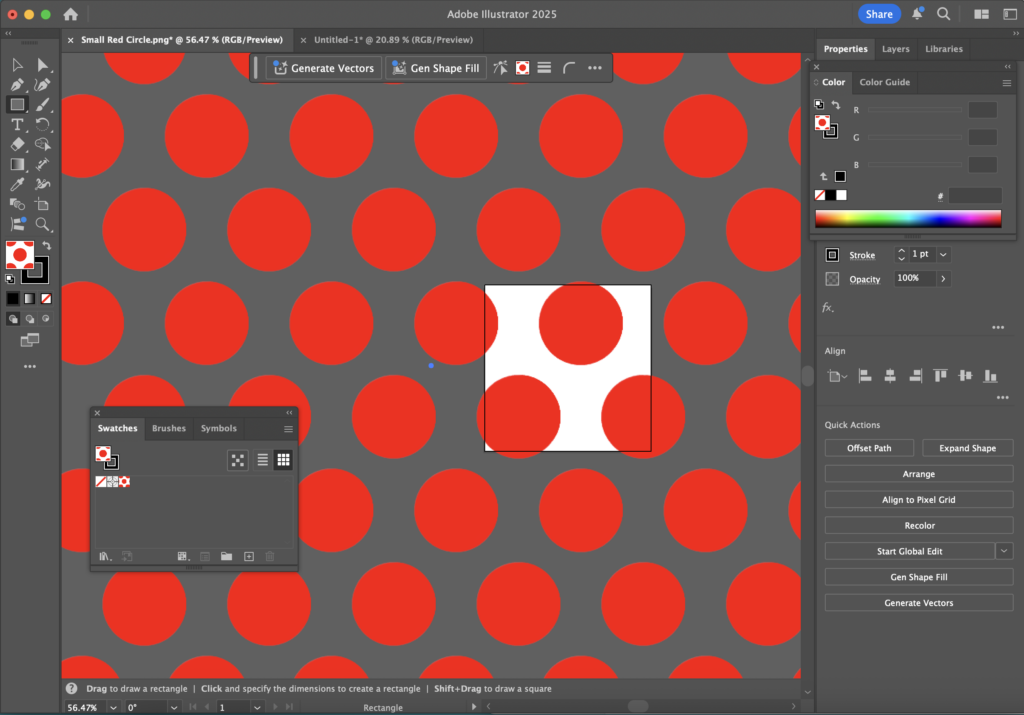
5. Save the Swatch

Once your pattern looks perfect, click Done in the gray bar at the top of the document window. Your new pattern will automatically be saved as a swatch in your “Swatches” panel, ready for use! You can now apply it as a fill or stroke to any object.
6. Using your pattern
To apply your pattern, select an object and then click on its swatch in the “Swatches” panel. This will instantly fill the object with your new design.
It’s common to want to make adjustments after seeing your pattern applied. To edit an existing pattern, double-click its swatch in the Swatches panel. This action will bring you right back into the Pattern Editing mode, allowing you to fine-tune your design.
You can also change the size or orientation of the pattern within an object without altering the object itself. To do this, select the object, then go to Object > Transform > Scale (or Object > Transform > Rotate).
In the dialog box that appears, uncheck Transform Objects and check Transform Patterns. This ensures only the pattern inside the object is affected. If you want to create truly complex designs, remember that you can even use your newly created pattern as a fill for elements inside another pattern you’re building, opening up endless possibilities for intricate solutions.

Want additional resources for building and designing incredible sites with WordPress? Visit WP Engine’s Resource Center for our vast library of educational, how-to content created for WordPress users of all technical skill levels!
To find out more about WP Engine’s hosting for WordPress sites, speak to a representative now.