Get Started


Key Takeaways
Creating a custom 404 page enhances user experience. A well-designed 404 page can retain visitors and reinforce brand identity, turning a frustrating experience into a helpful one.
WordPress offers multiple methods for custom 404 pages. Options include plugins, Full Site Editing (FSE), and manual coding in a child theme, catering to different user skill levels.
Plugins like Smart Custom 404 Error Page and Custom 404 Pro provide advanced features. They offer branded templates, A/B testing, and detailed analytics for optimizing user retention after broken-link encounters.
Full Site Editing in WordPress allows seamless integration with block themes. Leveraging block themes and the Site Editor, users can design cohesive error pages that align with their site’s overall style.
No matter how well-designed and architected your website is, users will likely encounter a 404 page at some point.
It can be something as simple as typing in a URL with a spelling error. For example, if you have a contact page found at www.website.com/contact and someone tries to land on www.website.com/contacts, there’s a good possibility they’ll be redirected to the 404 page.
Also, website content adjustments may not always account for pages that could have been moved without links being redirected. Hopefully, this experience doesn’t happen too often to your users, but when it does, it’s an opportunity to offer help and make something unique to your brand.
Make sure to check out our guide to creative 404 pages for some design tips. Design can be anything from serious to funny, text-heavy or minimalist, or somewhere in between, as long as it suits your brand.
Below are a couple of our favorites. They’re good examples of how creativity is used in the design of the page.
Figma
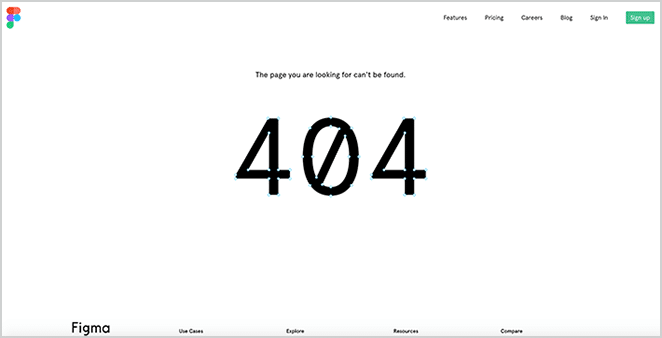
Figma uses a simple 404 page, but the graphic is very fitting with the vector points. We like how simple and bold it is; it’s really all that is needed..
MailChimp
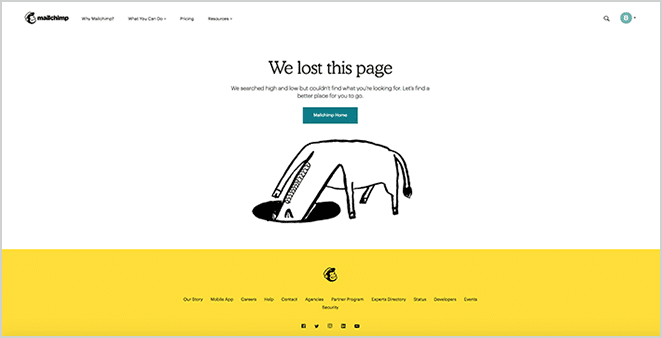
The design is always fun on the MailChimp site, especially with the recent redesign. It has an element of humor in both the text and illustration.
Creating a WordPress custom 404 page
There are several ways to create a WordPress custom 404 page for your website, including plugins, Full Site Editing (FSE), and manually coding the page in a child theme. We’ll cover plugins and FSE briefly before we dive into manual coding.
Plugins for WordPress custom 404 pages
The plugin ecosystem is one reason WordPress is so flexible. If you can imagine it, there’s probably at least one plugin for it. Some redirection plugins may include the ability to create custom 404 pages for WordPress, but there are also plugins that make it their focus. We’ve included a selection of them below. While this is by no means a complete list, it should help you get started.
Smart Custom 404 Error Page helps users create branded 404 pages via the WordPress Customizer, offering pre-built templates and basic tools to redirect visitors or add search functionality.
Custom 404 Pro is designed for advanced users, featuring A/B testing, detailed analytics, and granular control over 404 page design to optimize user retention after broken-link encounters.
Colorlib 404 Customizer focuses on visually appealing, mobile-friendly error pages through intuitive drag-and-drop editing and modern templates, making it a good choice for beginners seeking polished designs without technical complexity.
Using Full Site Editing to create WordPress custom 404 pages
Creating a custom 404 page with FSE in WordPress leverages block themes and the Site Editor to design a cohesive error page that aligns with your site’s overall style. This method requires a block theme, as the Site Editor (where template editing happens) is exclusive to block-enabled themes. We’re using the Twenty Twenty-Five theme for purposes of illustration, but this basic method should work with any block theme.
The first step is to edit or create the 404 template. In the WordPress admin, navigate to Appearance > Theme, and click Customize on your active theme.

Next, navigate to Templates and select the 404 template (or create one if your theme doesn’t include it). Use blocks (e.g., headings, images, buttons, search bar) to craft a user-friendly page, ensuring it matches your site’s design.

If you’re building the template from scratch, add contextual elements like a “Return Home” button, suggested content links (manually or via a Query Loop block), or a search form. Note that if you’re using an existing template in your theme, it may already have some of these features.
Next, customize typography, spacing, and colors using block settings while maintaining responsiveness across devices. Don’t forget to save your changes.
Finally, preview the page and test by visiting a broken or nonexistent URL (e.g., yoursite.com/404-test). Clear caching plugins if the old 404 page persists.
Building a WordPress custom 404 page manually
Customizations to your WordPress theme should generally be done in a child theme. This prevents modifications from being overridden by updates to the parent theme, ensures you don’t break your theme, and keeps your custom code organized.
Also, remember to do this in a test or staging environment before you roll it out to your production site. When theme files are being changed, there’s always the possibility of syntax errors that may bring the site down.
1. Create 404.php
The first step is to create a new file in your child theme called 404.php. This file should be created in the child theme’s root directory (e.g., /wp-content/themes/your-child-theme/). You can also copy over an existing 404.php file if your parent theme has one.
2. Edit 404.php
Pasting the following code into your file will create a basic 404 page with text and a spot for an image.
<?php get_header(); ?>

<div id="main-content">
  <div class="container">
    <div id="content-area" class="clearfix">
      <div id="left-area">
        <article id="post-0" <?php post_class('post-not-found'); ?> aria-label="<?php esc_attr_e('Page not found', 'text-domain'); ?>">
          <?php
          // Using attachment ID from Media Library
          $image_id = 123; // ← REPLACE THIS NUMBER
          if ($image_url = wp_get_attachment_image_url($image_id, 'full')) :
          ?>
            <img
              src="<?php echo esc_url($image_url); ?>"
              alt="<?php esc_attr_e('404 Error Image', 'text-domain'); ?>"
              width="600"
              height="400"
            >
          <?php else : ?>
            <p><?php esc_html_e('Error: Image not found', 'text-domain'); ?></p>
          <?php endif; ?>

          <h1><?php esc_html_e('Error 404: Page Not Found', 'text-domain'); ?></h1>
          <h2><?php esc_html_e('Oops, this page cannot be found.', 'text-domain'); ?></h1>
          <?php get_search_form(); ?>
          <a href="<?php echo esc_url(home_url('/')); ?>" class="button">
            <?php esc_html_e('Return Home', 'text-domain'); ?>
          </a>
        </article>
      </div>
    </div>
  </div>
</div>

<?php get_footer(); ?>
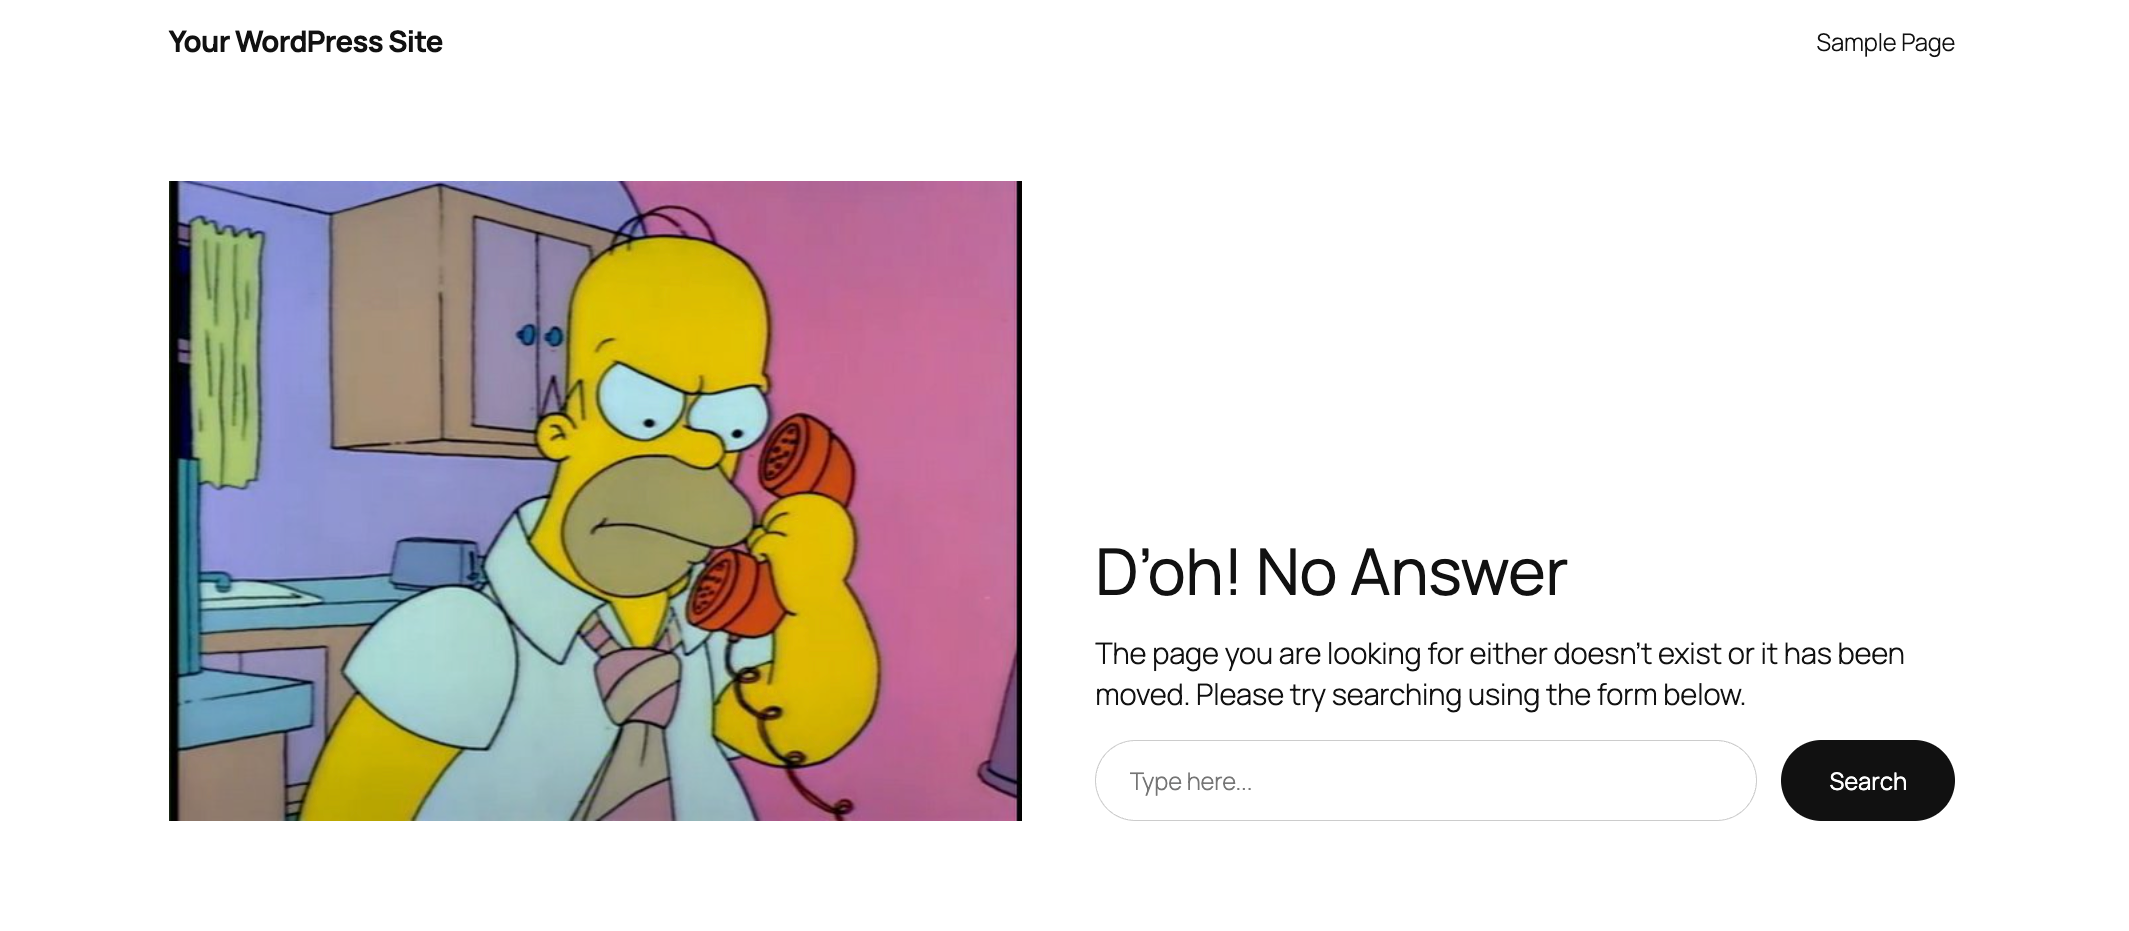
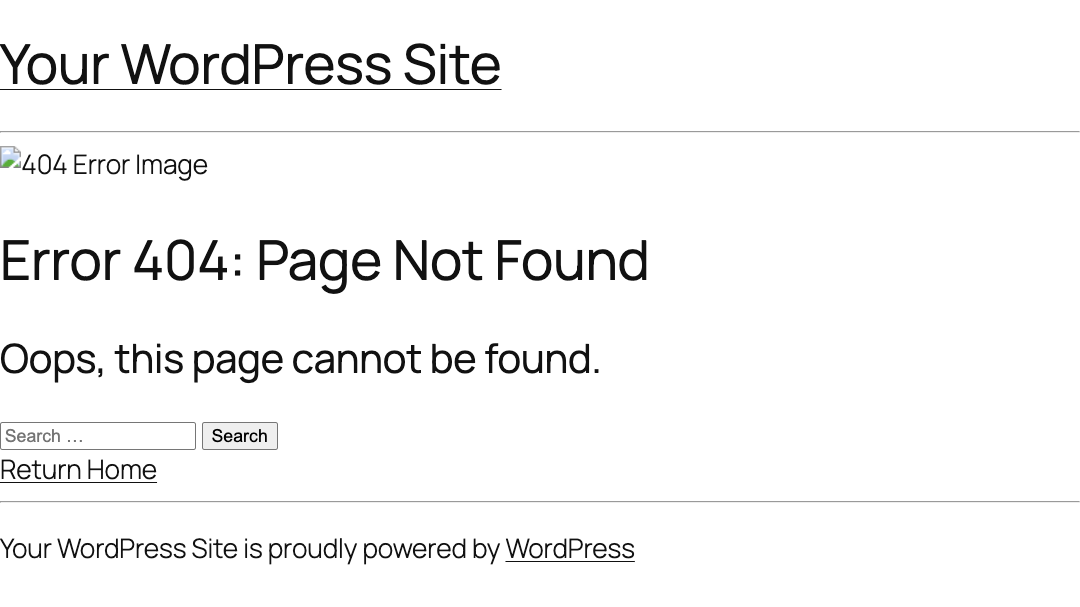
At this point, our WordPress site is displaying our custom 404 page, but there’s no image and the text is dull and generic.
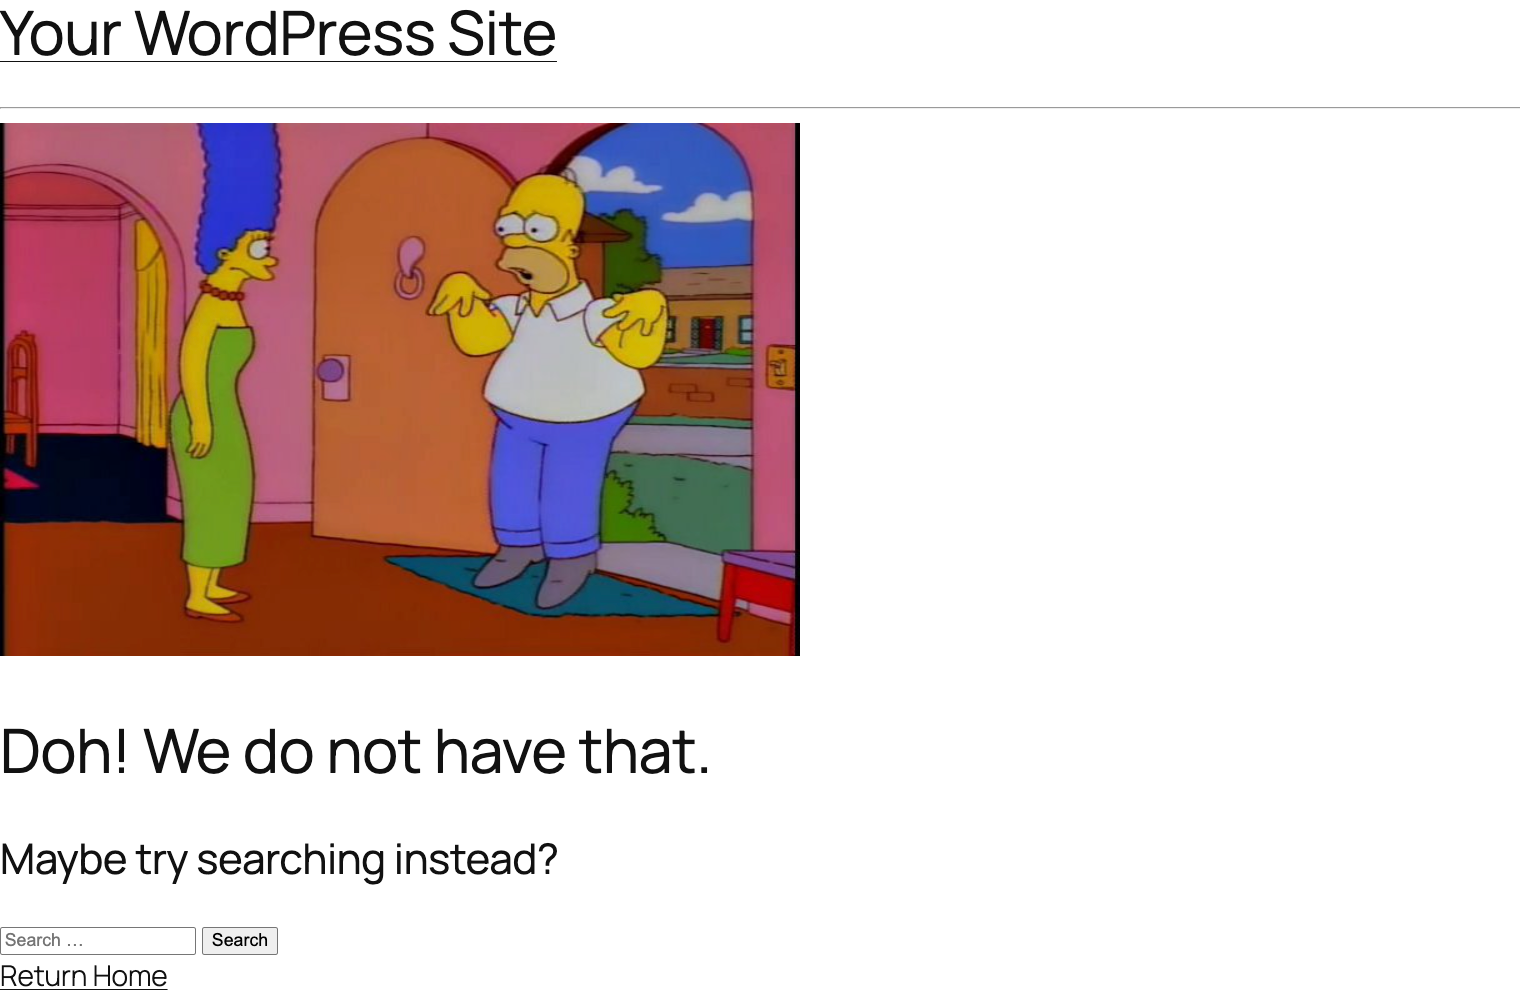
To set an image, we need to modify the file, specifically this part: $image_id = 123; // ← REPLACE THIS NUMBER. You can use any image from your WordPress Media Library. There are various ways to find the image_id, but the easiest way is to click on the image in the Media Library and look at the URL. It should say something like ?item=9 right at the end. That number is the image_id.
Changing the text is much simpler. Just replace the text that’s currently in the file (i.e., Error 404: Page Not Found or Oops, this page cannot be found) with your desired text.
Conclusion
A well-crafted 404 page is an opportunity to retain visitors, reinforce your brand’s identity, and turn a frustrating experience into a helpful one. Whether you choose plugins for simplicity, Full Site Editing for seamless integration with block themes, or manual coding in a child theme for full creative control, the goal remains the same: guide users back to your content with clarity and style.
By following the steps outlined above, you can ensure your WordPress site’s 404 page aligns with your brand’s tone, whether playful, professional, or minimalist. Remember to prioritize usability with elements like a search bar, home button, or suggested content links. Test thoroughly, keep design responsive, and don’t shy away from injecting personality. After all, even a dead end can leave a lasting impression. With these strategies, your custom 404 page will not only fix a broken moment but elevate your site’s user experience.