Get Started

Key Takeaways
Installing SSL certificate is crucial for site security. SSL encrypts sensitive data like passwords and credit card info, enhancing user trust.
Regularly update plugins and themes to prevent security vulnerabilities. Premium themes/plugins may require direct updates from developers.
Check for broken links before launching to ensure a seamless user experience. Broken links can lead to a poor visitor experience and impact SEO.
Launching site between Tuesday and Thursday can optimize traffic. These days typically have lower traffic, enhancing site performance.
You’ve taken the time to design, build, and code your new WordPress site and it’s finally time for the last step — launch! However, there are several items to check off the pre-launch list before taking your WordPress site live. Things like double-checking nameservers and refreshing your site’s content are easy to forget, which is why we have each of these steps outlined below.
What to do before you take your WordPress site live:
- Install your SSL certificate
- Disable anything that allows user-generated content
- Refresh your site’s content
- Update all plugins and themes, including the premium ones
- Clear cache in any page builder plugins, themes, or caching plugins
- Use a broken link checker to check for any broken links or missing images
- Test each page of the site and any functionality
- Take your WordPress site live between Tuesday and Thursday
- Optimize permalinks for SEO
- Create an XML sitemap
- Make it mobile-friendly
- Force HTTPS
Install Your SSL Certificate (Depending on Your Host)
This step is important, and one you don’t want to forget for any of your WordPress sites whether you install it before your site is live or after. Secure Sockets Layer, or SSL, is a protocol used to secure and encrypt communication between computers. In other words, it helps keep sensitive information on your site incredibly secure. This includes things like passwords, credit card information, banking credentials – basically any information your site stores that you (and your users) would want to remain safe.

Look up at the navigation bar in your browser – see that little padlock before the website URL? That symbolizes that a site has installed an SSL certificate and is therefore safely securing information. You can also tell if a site is using SSL by looking at the URL itself. If it starts with https instead of http, you know SSL is installed.
Disable Anything That Allows User-Generated Content
If your site is eCommerce, LMS, forum, Membership, or has other user-generated content, disable anything that allows that user-generated content (ordering, comments, posts, etc.). You can enable them after launching.
Refresh Your Site’s Content
This step only applies if you’ve recently migrated a site. If you continue making changes to your old website while a new copy is being migrated over to your new hosting provider, you may need to return to that original copy to grab updated content.
Update all Plugins and Themes, Including the Premium Ones
This step shouldn’t come as a surprise because you should always update plugins and themes regularly. However, it may not be possible to update premium themes or plugins directly through the WordPress dashboard. Updating those often requires direct contact with the theme or plugin developer. It’s extremely important to update premium themes and plugins, as they are often overlooked sources of out-of-date code that can cause potentially fatal errors and security vulnerabilities.

Clear Cache in any Page Builder Plugins, Themes, and
Caching Plugins
If your site is not showing new changes or if you’re having trouble with old URLs sticking around, there is a good chance that there is a theme or plugin cache holding on to old content. This can happen even when you’ve flushed various caches.
A cache that often gets forgotten about is theme and plugin caching. For page and site builder themes and plugins, the CSS/JS files are often hard cached and it can take some time to find the button to clear these out.
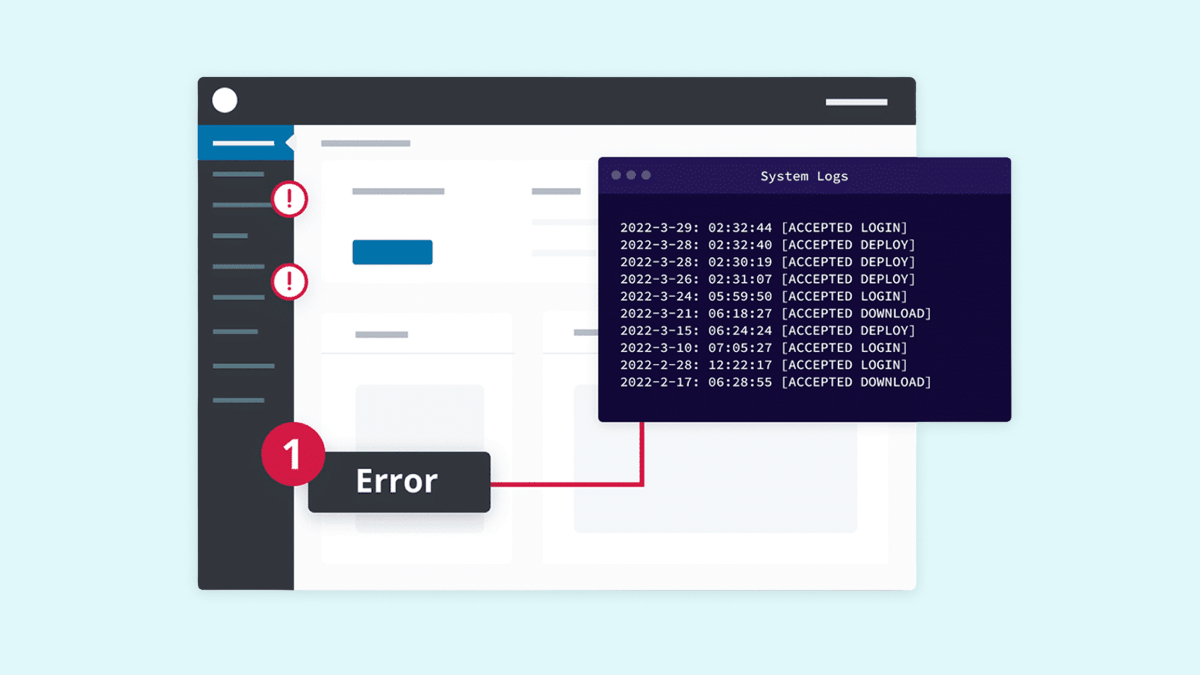
Use a Broken Link Checker to Check for any Broken Links or Missing Images
A broken link is — you guessed it, a link that no longer works. This can happen for many reasons, but the most common reason is when a page is deleted or moved to a different location which causes the server to show a 404 not found error. This turns into a bad visitor experience for anyone on your site, so checking for broken links is a must before launching your WordPress site!

To check for broken links, I recommend these tools and services:
- Mac: Integrity
- Windows: Xenu’s Link Sleuth
- All: Online Broken Link Checker
Note: While there are WordPress plugins available to help with this, I do not recommend that method. These plugins oftentimes are resource-heavy and can slow down your site.
Test Each Page of the Site and Any Functionality
Test each page of the site and any functionality to make sure everything is working how it’s supposed to. That way, you don’t have to make changes later and you don’t risk losing visitors (and potential clients) due to a faulty page.
Here’s a list to get you started:
- Third-party embeds
- Shopping cart
- Feeds
- Widgets
- Take your WordPress site live between Tuesday and Thursday
- Optimize permalinks for SEO
- Create an XML sitemap
- Make it mobile-friendly
Take Your WordPress Site Live Between Tuesday and Thursday
Typically Tuesday, Wednesday, and Thursday are low-traffic days so try to launch your site on one of these days!
Optimize Permalinks for SEO
Permalinks are the permanent URLs to your pages and blog posts, as well as your category and tag archives. A permalink is the web address used to link to your content. The URL to each post should be permanent and never change — hence the name permalink. The Settings Permalinks Screen in WordPress allows you to choose your default permalink structure. You can choose from common settings or create custom URL structures.
By default, WordPress uses web URLs which have the date and name in them; however, WordPress offers you the ability to create a custom URL structure for your permalinks and archives. This can improve the aesthetics, usability, and forward-compatibility of your links. In short, be sure to utilize keywords in every permalink!
Create an XML Sitemap
According to Neil Patel, an XML (Extensible Markup Language) sitemap is a list of a website’s URLs and it’s called a sitemap because it maps out how the website is structured and what the website includes.
Search engines, like Google, use crawlers to organize and index information on the web. These crawlers can read all kinds of information, but an XML sitemap makes it easy for the crawler to see what’s on your website and index it accordingly. It works as a table of content for your site, allowing the crawler to get the essentials and index your site accordingly. Once it does this, your website has a stronger likelihood of improving its rank quickly.
Learn how to create a comprehensive XML sitemap here.
Make it Mobile-Friendly
When you design with a mobile-first strategy, you will likely be using some tried and true UX design best practices. These keep your users in mind and are geared toward improving the user experience. All of this is proven to benefit your bottom line by keeping visitors on the site longer and more engaged in your content.
Additionally, a mobile mindset brings with it a whole host of other options. This might include using real-time interaction, location-based strategies, and more!
Force HTTPS
Forcing HTTPS means redirecting all traffic to your site via the HTTP protocol to HTTPS, so that the transmissions to and from your site are encrypted and secure. While this step typically happens right after you launch your site, I still think it’s worth mentioning so you don’t forget!
To do this on Flywheel, just head to the site’s Advanced tab, and you’ll find the “Force HTTPS” toggle switch. (This will only appear once you have an installed and active SSL certificate.) Just toggle that switch on and we’ll redirect all your site’s traffic to HTTPS at the server level automatically!
Note: Once you force HTTPS on a site, your browser will require all assets on the site to be served via HTTPS. If your site has hard-coded paths to HTTP, they will throw ‘insecure asset’ errors and not be allowed to load.
If you’ve recently forced HTTPS on your site and are noticing some broken images or assets — or if they’re loading properly, but you’re seeing “insecure content” warnings and not seeing the padlock in the browser bar, fear not! This is likely due to images and other assets being called into the page insecurely.
Conclusion
Congratulations! You now know all the pre-launch steps to take before launching your WordPress site. All you have to do next is launch your WordPress site! With the extra time back, you can worry less about launching and more about design and development, aka the work you love.