


WordPress Domain Mapping Guide
It’s not uncommon for web developers or business owners to purchase more than one domain for their websites. This could be for brand protection and awareness, or simply for future use.
Whatever your reason for buying multiple domains, you’ll then need to connect them to your hosting service. That’s where the process of domain mapping on WordPress comes in. This technique enables a domain that ‘lives’ somewhere other than with your web host to point visitors towards the right host and website content.
In this article, we’ll cover the situations in which you may want to use domain mapping for WordPress, and explain how to begin the process. Additionally, we’ll introduce some tools that can make this task easier. Let’s jump right in!
Why Use Domain Mapping?
Domain mapping can become necessary in a couple of scenarios. In this context, ‘mapping’ refers to making sure your chosen domain name points or connects to the hosting server where your website’s files are located.
The reasons you might need to carry out this process include:
- You’ve purchased several domain names that all need to point to the same server.
- A domain name you purchased does not reside with the same hosting provider as your website’s server.
- You are switching to a new Content Management System (CMS), but want to preserve the links on your site.
Essentially, domain mapping with WordPress is a way to redirect users to the correct host, through your website’s address. This is especially important if you have purchased a domain name that is not already connected to or provided by your website’s host.
Can I Have Multiple Websites on One Domain?
You can have two (or more) websites located under one domain. This is generally done by using subdomains, or by placing the websites into separate folders under the main domain. If your domain is “example.com”, a subdomain might look like “steve.example.com”. This would be a completely different site with its own style and content.
If you wanted to place the sites into separate folders, the second website might be located at: “example.com/steve”. Again, thanks to domain mapping in WordPress, this could point to a completely different site than the original URL (“example.com”). In the next section, we’ll explain how to set this up.
How to Map Domains on WordPress
In order to map your domain, you’ll need to be familiar with your web host’s control panel or administration dashboard. For example, WP Engine customers have access to a custom User Portal, where you can execute the steps needed to map your domains. Additionally, you’ll need to make sure that you provide your domain name registrar with information about your website’s host. Mapping is a ‘two-way street’, which requires that the correct information gets to your host and to your domain name registrar. Let’s take a look at the steps you’ll need to follow in order to make that happen.
Step 1: Access Your User Portal to Manage Your Domains
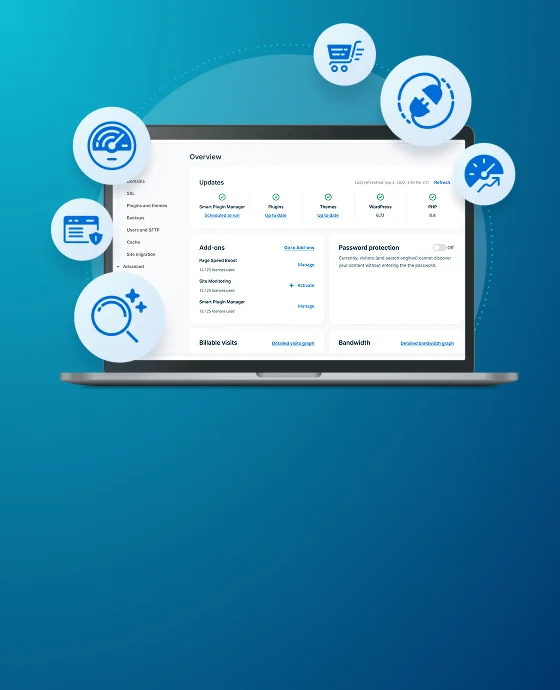
You can find much of the information you’ll need in your host’s control panel or user portal. On a WP Engine account, this means navigating to Sites and choosing the website you want to manage the domain for. Then click on Domains.
At the bottom of the Domains screen, you’ll find the information you need to provide to your domain registrar. Using the Canonical Name or CNAME Record is recommended when possible. This is what tells your domain registrar where to send users who visit your domain name online.
You’ll then need to check your domain registrar’s requirements, to see what they’ll accept.
Once you collect this information and update it with your domain registrar, you’ll need to add your domain information to your hosting account. If you don’t know what your registrar is, you can find it by using the Internet Corporation for Assigned Names and Numbers (ICANN) Lookup website.
Step 2: Add Your Domain Information
You can add your domain information to your User Portal, in the same place where you retrieved your DNS details. Once you access your Domains page, you can click on Add Domain under the Domains & Redirects section.
After that, you’ll just need to enter your domain and select Next.
Once you’ve completed the first two steps, your domain name should point to your website. It might take up to 24 hours for your new mapping to completely resolve, however.
Step 3: Verify Your Domain Information and Test Your Mapping
To test your domain mapping, you can simply type your domain name into a web browser. If the mapping process was successful, you will land on your website’s home page. If not, you will need to check the accuracy of both the CNAME information you entered into your registrar, as well as the domain name you provided to your web host.
Mapping for Multisites and Multiple Domains
There may be times when you need multiple WordPress domains to work with one installation or instance. In some cases, you may have multiple domains using WordPress, which all need to point back to the same website. This might be for branding and name recognition, or to avoid name confusion with similar brands. Alternatively, if you’ve set up a WordPress multisite network, your domain mapping might look a bit different as well.
First, let’s look at the process of mapping several domains to the same website. For this task, we recommend using a plugin. This is the easiest and most user-friendly way to manage multiple WordPress domain mappings on one site. The Multiple Domain Mapping on Single Site plugin is especially useful for marketers who are using various landing pages, or who want to have specific domains pointing to different pages on a larger website. You can manage those mappings easily in the plugin’s interface.
Keep in mind that getting this plugin running does take some familiarity with your website’s setup. For example, you’ll need to be able to locate the information we outlined earlier in the manual domain mapping process.
What if you’re running a WordPress multisite network? Starting with version 4.5, WordPress included domain mapping for multisite setups as a native feature. This means you no longer need a plugin to map multiple domains in a network, and you can do one install for multiple WordPress domains.
Multisite is useful if you want to manage numerous websites from the same dashboard. Rather than having distinct and individual WordPress installations for multiple related sites, you can create a network and manage them under one umbrella.
It does take a little more technical know-how to set up a multisite network and map your domains appropriately. You’ll need to be comfortable editing your website’s config.php file, for example. Additionally, you’ll need to make sure all of your domains are already mapped to your DNS server, and that your Secure Sockets Layer (SSL) certificates are properly installed for each domain. This will enable secure administrator logins for all sites on the network.
Master WordPress Domain Mapping With WP Engine
Registering multiple domains on WordPress and mapping them to your primary website can be a useful tool for managing brand recognition or using landing pages strategically. Fortunately, all you need to get started with your own domain mapping strategy are the right resources and tools.
Here at WP Engine, we offer the best in WordPress solutions, resources, and support. Check out our world-class WordPress hosting plans today!