
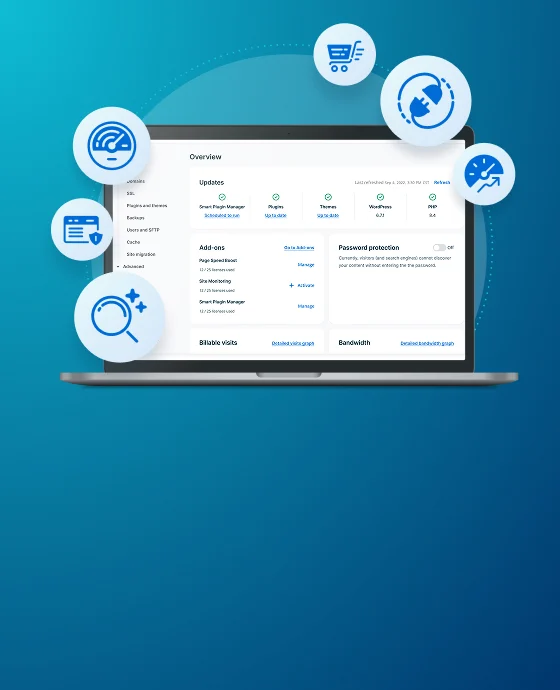

Go Live Checklist
The process of “going live” refers to the process of building out your website and making it publicly accessible on a custom domain name. You can easily track these steps with the “go live checklist”.
Items in this checklist will display a green checkmark when completed, allowing you to track your progress and know which steps should be done next.
NOTE
The Go Live checklist is available only to Production environments the first 45 days after creation. Alternatively, once a new site hits their Visitor traffic the Go Live Checklist will hide after 10 additional days.
Locate Go Live Checklist
To locate the go live checklist:
- Log in to the User Portal and go to the Sites page
- Select the environment name for the appropriate site environment
- Click Go live checklist in the secondary lefthand menu (You may have to expand the Manage dropdown section)

NOTE
If the Site is currently “transferable” it will need to be unlocked on the current account or transferred to another account before it can be taken live.
Take Your Domain Live
This section consists of six steps to help you connect a domain to your website, and to check settings in your WordPress® dashboard.1 This process is essential to having your website found by visitors and listed on search engines.
Log In To WordPress Admin
In order to start filling in the “meat and potatoes” of your website you need to log in to the backend, usually referred to as the “wp-admin” or “admin dashboard”. In the wp-admin you will manage your website’s content as well as the look and feel of the pages.
We will have sent an email when the environment was completely set up and is ready to use. Within this email you will find a link to set your password for the first time.
If you don’t see the email, or prefer an easier way to log in, enable the seamless login feature. You will then simply click “wp-admin” in the User Portal to automatically and securely be logged into the wp-admin of your website. No separate passwords to remember- Just a quick and secure way to log in to your wp-admin from the WP Engine User Portal.
Learn about seamless login and how to enable it.
Add Your Domain and Set as Primary
Adding your domain name in the User Portal “links” it to an environment and ensures the domain knows which environment on WP Engine the server should route visitors to.
In addition to adding your domain to the User Portal, setting it as “primary” tells the system which domain is preferred. This will mostly help with SEO and with backend processes, such as copying the website.
Learn how to add your domain in the User Portal and set it as primary.
Domain Connect
When adding your domain to the User Portal you may be prompted to automatically have your DNS configured with a feature called “domain connect”. This feature will ask that you log in to your DNS host so we can automatically configure your DNS records on your behalf.
When using domain connect we can also set your domain as primary, update the URL in WordPress, and even order an SSL for you!
Learn more about domain connect in our guide.
Configure DNS Records
Configuring your DNS records is done with your DNS host and tells the domain name (EX: mycoolsite.com) that it should send traffic to WP Engine’s servers.
In many cases the DNS host is a service like Cloudflare or Sucuri, in others it may simply be where you bought the domain name.
Learn how to point DNS to WP Engine in the extended guide.
NOTE
If you’ve purchased Global Edge Security be sure to see the DNS guide for GES instead.
Change WordPress URLs
Updating your WordPress URL is required on any WordPress host and tells the WordPress software which domain should show up in the browser. This is an important step and prevents issues with redirects and even SEO.
Learn how to update your WordPress URLs.
Turn On Search Engine Visibility
Turning on Search Engine Visibility tells search engines like Google that it’s ok to crawl and index the content on your website’s pages. When you’ve finished adding content to your web pages then you can make sure visibility is enabled.
- Go to the wp-admin dashboard for the site
- Go to Settings > Reading, in the left sidebar
- Find the setting labeled Search engine visibility
- Uncheck the checkbox labeled Discourage search engines from indexing this site
- Click Save Changes at the bottom of the page
After you’ve turned on visibility, learn more about your sitemap here. Your sitemap is a list of pages on your website that you want search engines to read and index. This information about your pages can then be used in search results on sites like Google. The article linked above will also show how to proactively submit your sitemap to Google to request indexing.
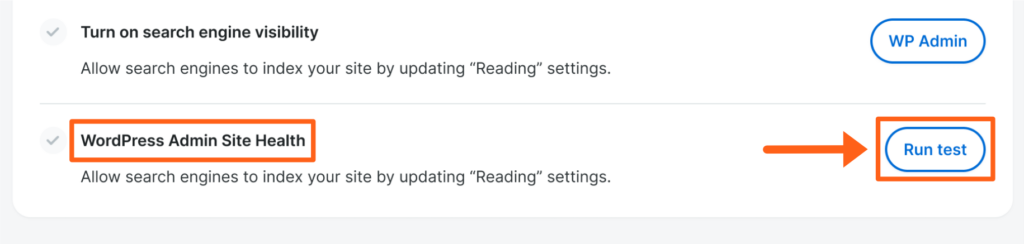
WordPress Admin Site Health
The site health check shows critical information about your WordPress configuration and items that require your attention from the wp-admin dashboard of your website.
Click the link in this section of the go live checklist to go straight to the health check test.
Enhance Your Site
A website is more than just a domain name. After your domain is all set up you’ll need to build out the website itself. This portion of the process is focused on helping you create content and complete your website.
Keep Your Plugins Up-To-Date with Smart Plugin Manager
Smart Plugin Manager (SPM) keeps your environments secure by automatically updating all of your WordPress plugins. SPM can be customized to update plugins at a specific time of day and can even restore to a backup if an update causes an issue.
Learn more about SPM, how to activate it, and SPM settings in the extended guide.
Enhance Security with Global Edge Security (GES)
GES is a security and performance suite partnered with Cloudflare that extends the security benefits already realized by WP Engine’s platform. GES is purchased as a product extension for an account and requires DNS be pointed to a specific IP or CNAME address.
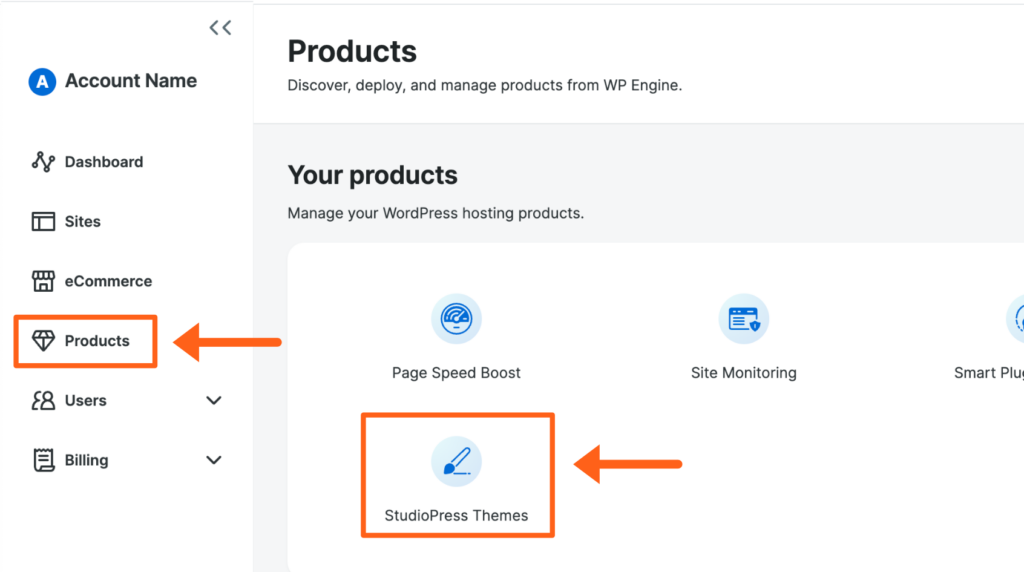
Change Your Theme
Included at no additional cost with every WP Engine plan is a variety of StudioPress themes built on the Genesis Framework.
See the themes listing to check out which themes are available and to view a demo for each. When you’ve chosen a theme and wish to install it on your website, simply click “Quick install”.
Learn more about getting started with Genesis and StudioPress here.