(Legacy) WP Engine Hassle-Free Migration
NOTE
The WP Engine Automated Migration plugin described in this article is now deprecated and considered legacy. The new WP Engine Site Migration plugin or the manual migration process should be used instead.
Migrating to a new host should be easy, with minimal technical knowledge required. In order to make your migration as painless as possible, we’ve partnered with BlogVault to create an automated WordPress migration plugin. This plugin will provide you a quick way to migrate WordPress sites to WP Engine, allowing you to work on your other projects while the plugin does all the heavy lifting. No need to worry about importing the database or searching/replacing domain values either, the plugin does it all for you.
WP Engine Technical Support is available 24 x 7, 365 to help! Get stuck or have questions? Let Support know and we’ll walk you through it.
Before Migrating
Before migration your site to WP Engine, there are several items you should have ahead of time:
- Sign up for a WP Engine hosting plan
- Add a new Site and Environment on WP Engine to migrate your existing website to
- Have access to the wp-admin of the existing site on another host (specifically the ability to add and use a plugin)
Once initiated, the migration process takes your content and database and makes a copy of the site on a WP Engine server.
This means that two copies of your site will technically exist until you point DNS away from your previous hosting provider. Be sure to double-check the domain when installing the plugin or working on either version of the site until you’ve completed the full “Going Live” process.
Please also ensure your site is compatible with the current PHP version. If you aren’t sure, just migrate to a Staging or Development environment instead, then use our PHP Test Driver.
NOTE
WP Engine sets certain values at a platform level for security and performance reasons. Most commonly our servers disable post revisions by default and do not support the .htaccess file.
Automated Migration Video
Access Site Migration Page
The Site Migration page of your WP Engine User Portal displays all the necessary information to complete your migration process.
- Log in to the WP Engine User Portal
- Click on the environment name that you will be migrating to
- Select Site migration from the menu
- Ensure Automatic Migration (Recommended) is selected at the top.
- By default, the Site Migration plugin information will display.
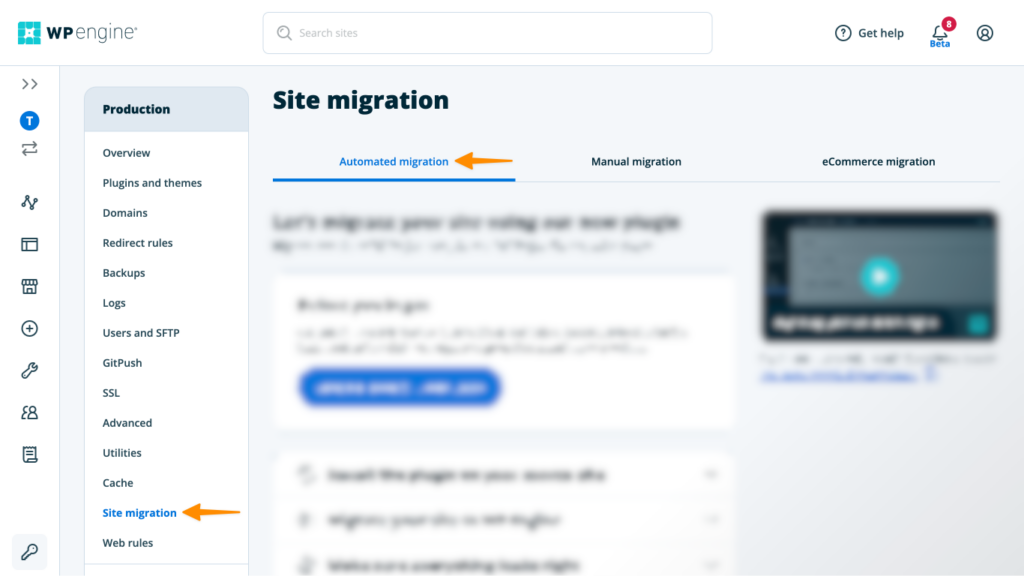
- Scroll to the bottom of this page and click Switch to the old migration plugin

NOTE
Leave this tab open! You’ll need to copy and paste the information shown here in the following steps.
Download & Activate Plugin
Ensure you are performing this process on the site you will be migrating from, located at your prior host.
- Open the wp-admin of the site you are migrating from
- Click Plugins
- Click Add New
- Search for WP Engine Automated Migration
- Alternatively, you can download the plugin from the Site Migration page and install it manually.

- Install the plugin
- Activate the plugin
Upon activating the plugin you will be redirected to the migration form, where you will enter details in the next steps.
NOTE
Leave this page open to easily copy the migration details in the next step.
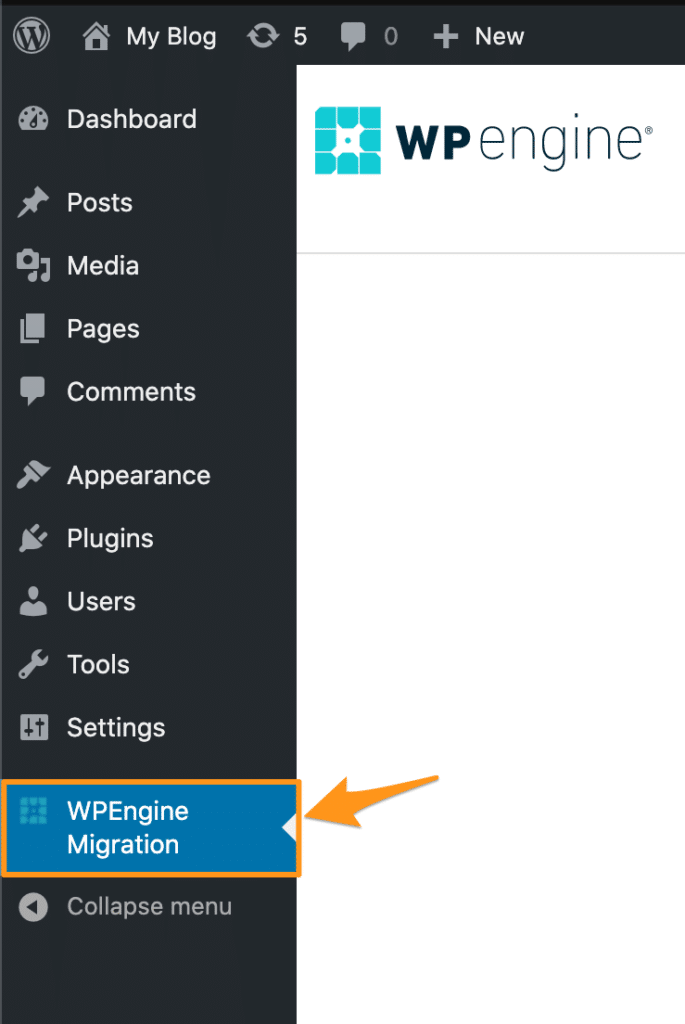
To access the migration plugin simply click the WP Engine Migration tab in the lefthand menu of your wp-admin dashboard.
Generate SFTP Credentials
When viewing the Site Migration page in the User Portal, the Destination URL and SFTP host/server address will be generated for you automatically.
To generate an SFTP username and SFTP password, you must click Generate SFTP Password located just above “SFTP username”.
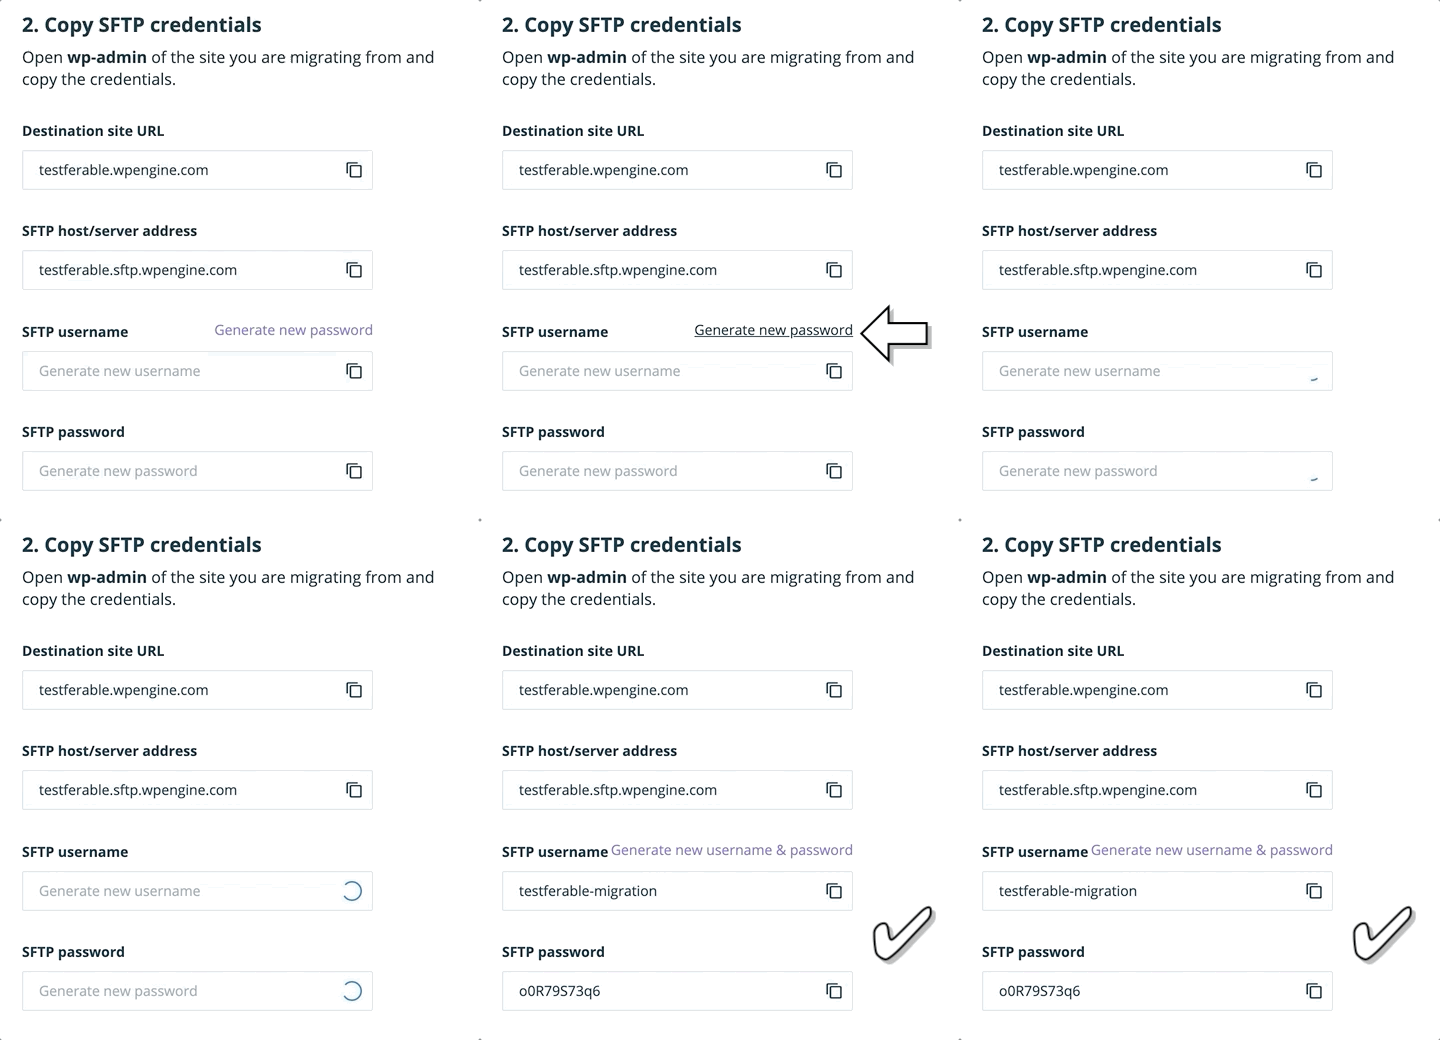
These credentials need to be copied exactly as shown into the migration plugin form on your prior host.
This page will have different SFTP information for every WP Engine environment.
Start the Migration
- Return to the migration plugin within the wp-admin of the site you are migrating from
- Enter an email address to receive migration status updates at
- Check the box to agree to our Terms of Service
- Click Get Started
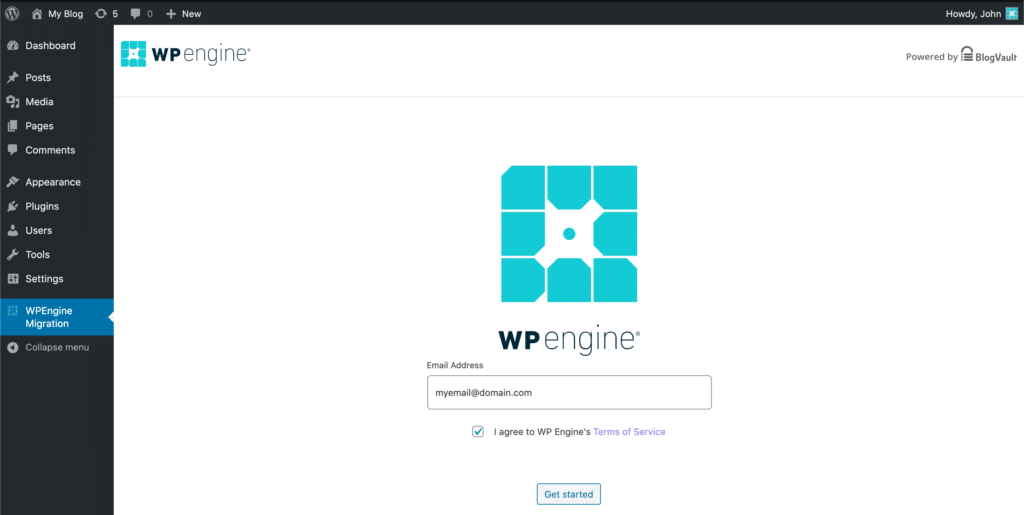
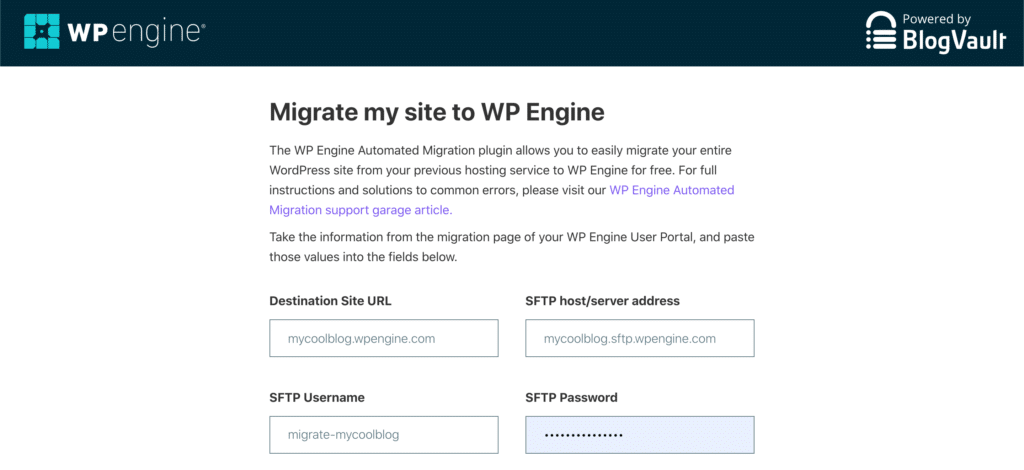
- The following fields should be copied exactly as shown on the Site Migration page:
- Destination Site URL
- SFTP host/server address
- SFTP Username
- SFTP Password
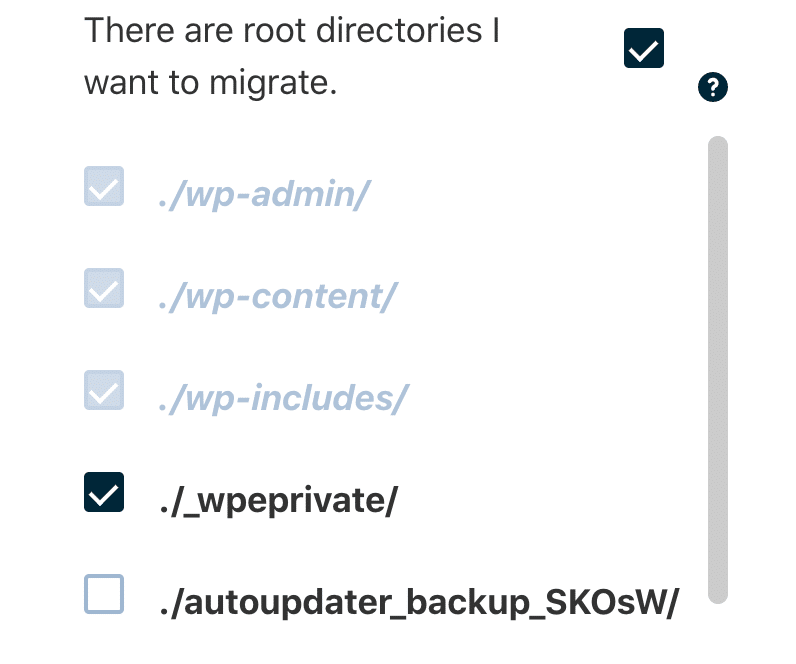
- (Optional) There are root directories I want to migrate.
- By default, the plugin only moves the database and files found in the
wp-contentdirectory. If you have any directories in the site root that also need to be moved over, check this option. You will then be prompted to select those directories from a list.
- By default, the plugin only moves the database and files found in the
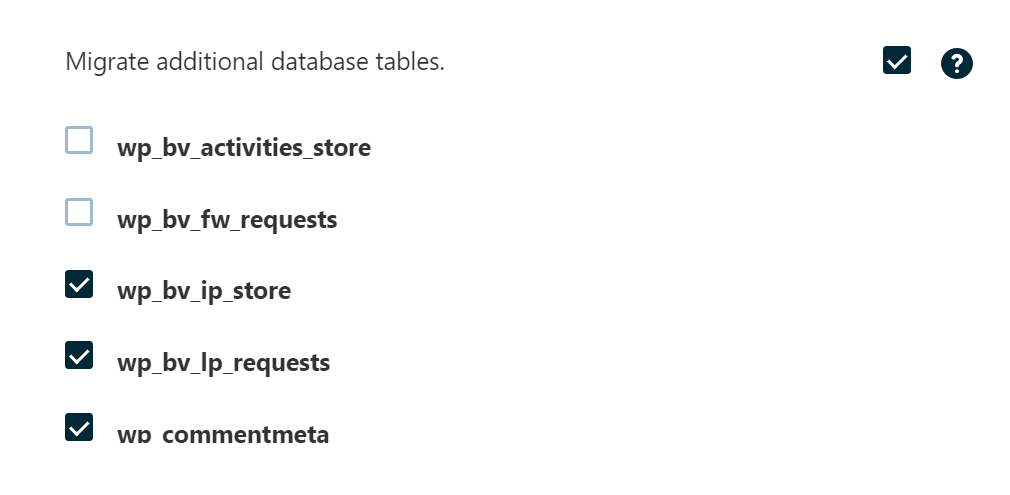
- (Optional) Migrate additional database tables.
- Use this option if you wish to include any non-default database tables. By default tables starting with the dbprefix are migrated. The exceptions include tables from plugins like Wordfence, which are known to cause issues and have transient data.
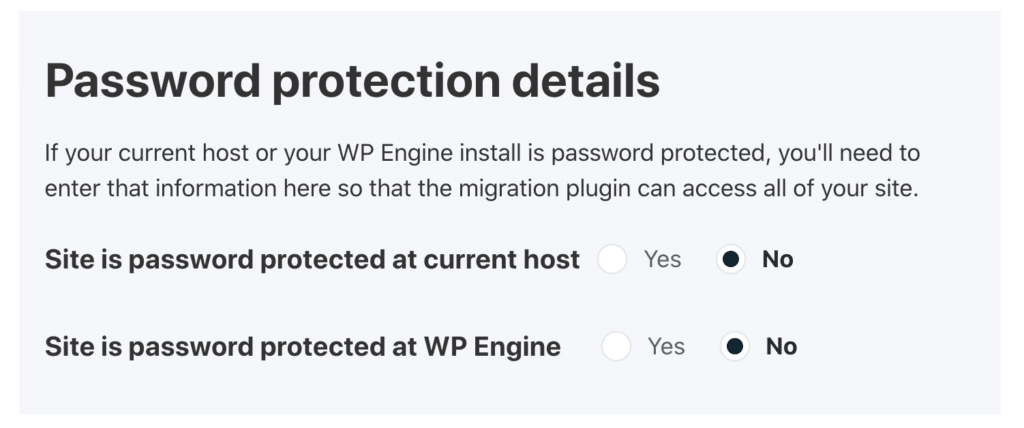
- (Optional) Password protection details
- If your current host or your WP Engine environment is password protected, you’ll need to enter that login information so that the migration plugin can access all of your site.
- This section is situational, for most websites this section can remain set to No.
- You do not need to put your wp-admin administrator credentials in this area.
- Click Migrate to begin the automated migration to WP Engine
- The details you entered previously will be validated on the next page. Do not close this page.
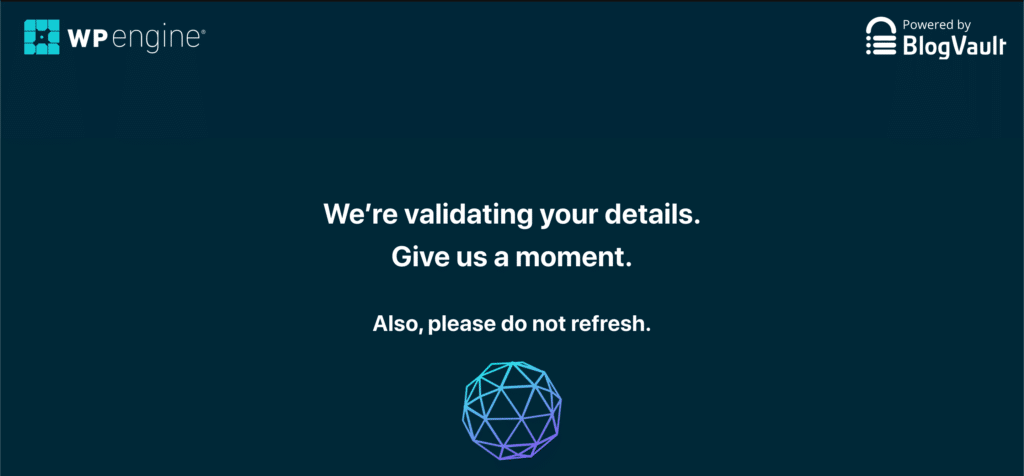
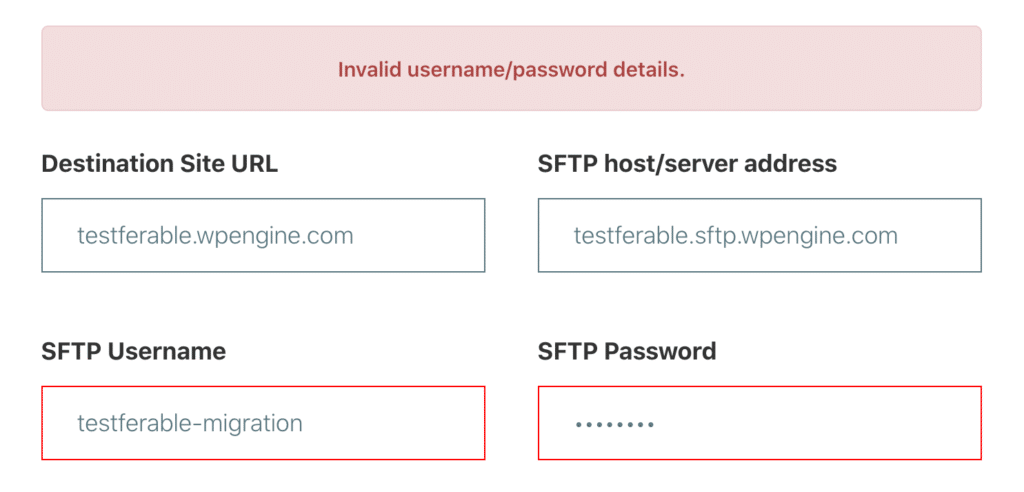
If the plugin encounters any issues with the information you have entered, you will be directed back to the migration form to correct the specified details.
BlogVault Migrates the Website
If the information you’ve entered is validated successfully, the migration process will begin and you will be redirected to a BlogVault migration status page.
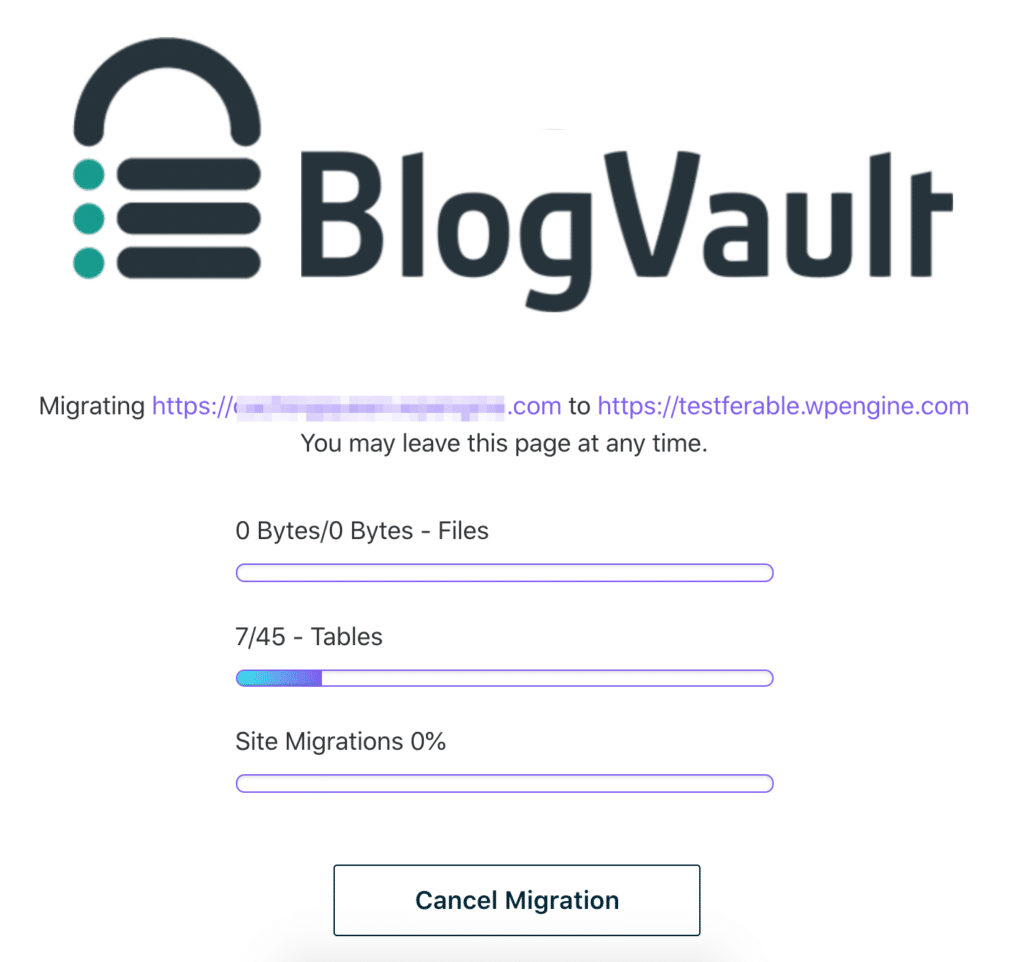
You can close this page out if you’d like, the migration will keep running behind the scenes. The email address you entered into the plugin at the beginning will be sent a link to this tracking page if you need to locate it later.
NOTE
Do not change any settings on WP Engine while the migration is running, as this can interfere with proactive checks in the process.
Don’t be alarmed if it stays on one section for several minutes, especially the database. This process can take a while if your site is large.
You will receive an email when the migration is complete. At that time your website’s content and database have been copied to WP Engine, and you will be able to view it at your environment.wpengine.com URL.
Second Migration
Running the migration plugin a second time allows for a search and replace to occur on your domain and ensures all content has been copied to your WP Engine server.
The second migration will be faster than the first, as it will only copy files that may differ. The database, however, will be migrated again in full in order to perform a search and replace for your domain.
The second migration is optional. If you made changes to the version of the site that is hosted on WP Engine after running the first migration, you may not want to migrate again and overwrite those updates. In this case you need to point DNS then update your WordPress URL instead of running the second migration below.
- Add your custom domain to the User Portal
- If you are prompted to automatically configure DNS do not proceed with this portion. Learn more.
- Open the wp-admin of the site you are migrating from
- Click WP Engine Migration from the admin menu
- Enter the same information used in the first migration, with the following change:
- Destination Site URL — Enter your live/custom domain instead of the default domain
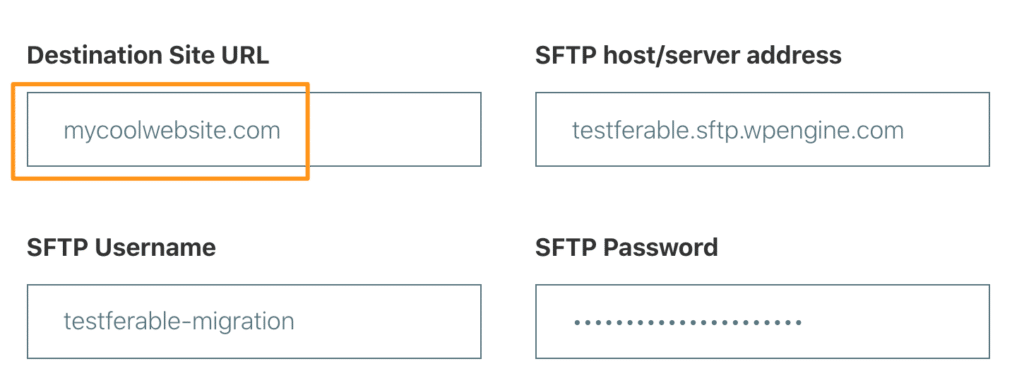
If you’ve already updated DNS so your live domain points to WP Engine, the old version of the site with your previous host will be inaccessible. In this case you will need to point DNS back to your previous host before you proceed with the second migration. Learn more.
After Migrating
Once the physical migration has completed you will want to perform the following steps to complete the going live process:
- Point DNS to WP Engine
- Add SSL (Optional)
- Enable CDN (Optional)
Migration Errors
Source site is inaccessible due to DNS.
The migration plugin requires uninterrupted access to your website. This means if you point DNS to WP Engine manually or using Domain Connect before the process has completed, the migration plugin will become inaccessible or otherwise fail.
To ensure the migration plugin has uninterrupted access, refrain from pointing DNS until after all migrations have been completed.
If you wish to use Domain Connect to automatically point DNS after the migration, simply delete and re-add the domain in the User Portal to trigger the process.
Could not connect to server. Please check the address.
The SFTP credentials you provided are incorrect. You can verify that you are using the right SFTP credentials by visiting the Site migration page for your Environment in your User Portal. (See Step 2)
Error! The URL specified is incorrect. Can you please check if your WP Engine account is configured with [domain]
The domain entered in the “Destination Site URL” field is not configured in WP Engine’s dashboard for the Environment. Ensure the domain has been added to User Portal. (See Step 5)
“Unknown” with a white screen
This error is caused by a conflict with the Cloudflare WordPress plugin. Deactivate the plugin to run the migration and you will be all set.
That email is already in use.
You have an old version of the WP Engine Automated Migration plugin installed.
Update OR delete and reinstall the plugin from your WordPress Admin Dashboard to resolve the issue.
Unable to execute PHP file on the site. Please check with your hosting provider.
- You may have an old version of the WP Engine Automated Migration plugin installed. Update OR delete and reinstall the plugin in your WordPress Admin Dashboard.
- Remove any redirects you have set on the destination domain, any 301 redirects, and any URLS where HTTPS is forced, which may interfere with the domain redirecting properly.
BlogVault Migration Logs
If you notice that your migration has failed, JSON formatted migration logs can be accessed in the _wpeprivate folder of the WP Engine website. These logs contain the following information:
Started at
Source site
Destination URL
Destination hostname
Total files
Synced files
Ignored files
Total tables
Ignored tables
Synced tables
Synced size
Ignored size
WP version
PHP version
Absolute path
Content path
Plugin infos like plugin version or if active / or not
Theme infos like theme version or if active / or not
Finished at
Database modifications start time and finished time
Status codes
Best Practices for Migrating Multiple Sites
While the automated migration service can handle many different types of websites, it’s still best to have a plan in mind when migrating a large number of websites. It’s recommended to migrate the less critical sites first, so you can get a feel for the process as a whole. Most importantly you want to have an idea for how migrations work, how to test, and how to take the site live.
Additionally, we recommend prioritizing migrations based on their timezone and low traffic periods. This is to ensure any downtime impacts as few visitors as possible.
Lastly, if you are comfortable with APIs, you can save yourself some time by generating all the necessary WP Engine environments using our customer API.
Caveats
Certain hosts have known incompatibilities with the WP Engine Automated Migration plugin and won’t work. Incompatible hosts:
- WordPress.com
- Local Hosting Environments
- Proprietary Hosting Providers (Wix.com, SquareSpace.com, and other similar companies)
If your host is incompatible with the WP Engine Automated Migration plugin, you will need to move your website to WP Engine using our Manual Migration Checklist instead.
Excluded Plugins
The following plugins do not migrate to WPEngine when using the BlogVault plugin. Most often this is due to conflicts, see our disallowed plugins list for more information.
- “quick-cache“,
- “quick-cache-pro“,
- “w3-total-cache“,
- “wp-cache“,
- “wp-file-cache“,
- “wp-super-cache“,
- “hyper-cache“,
- “db-cache-reloaded-fix“,
- “bv-cloudways-automated-migration“,
- “wp-site-migrate“,
- “migrate-to-liquidweb“,
- “migrate-to-wefoster“,
- “migrate-to-guru“,
- “bv-pantheon-migration“,
- “savvii-wp-migrate“,
- “flywheel-migrations“,
- “pressable-automated-migration“,
- “migrate-to-pressable“,
- “wpengine-ssl-helper“,
- “wp-engine-ssl-helper“,
- “limit-login-attempts“,
- “force-strong-passwords“,
- “sg-cachepress“
Excluded Plugin Database Tables
The following plugins will migrate using the Blogvault plugin, but some of their database tables will not. These tables are not required on the site for it to function and we don’t migrate any such tables to avoid bloating up the migration size.
- “wordfence“,
- “wordpress-seo”
For example:
wp_wfBlockedIPLog → Wordfence
wp_wfCrawlers
wp_wfFileMods
wp_wfHits
wp_wfHoover
wp_wfIssues
wp_wfLocs
wp_wfLogins
wp_wfNotifications
wp_wfPendingIssues
wp_wfReverseCache
wp_wfStatus
wp_yoast_seo_links → Yoast
NEXT STEP: Learn how to add redirect rules


